First pour

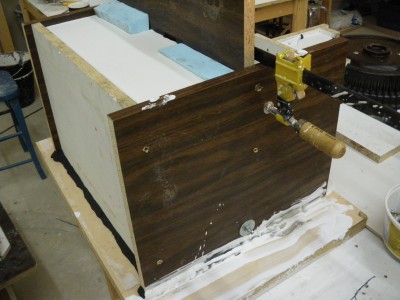
This is the first pour of the differential from the 12 bolt chevy.  On the “size scale”  this one is probably 6 out of 10 and is still a lot of work.  when finished I think that it will be about an eight piece mold.  You can see the blue foam sticking out of the top of the mold, i do that to create some voids in the plaster and to help keep the weight down.  Once the plaster has cures I’ll pull it out.
Brake Drum

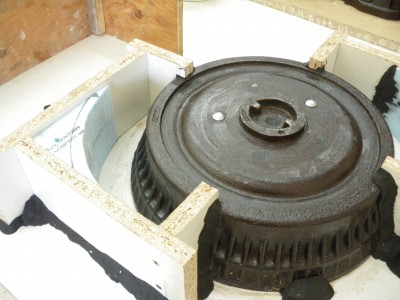
Here is the brake drum from the axle.  This is the first step in making the plaster mold, I have partitioned of two portions of it and will pour those parts first.  You can see the black plasticine that I use to seal the edges, some people  use clay but I prefer the plasticine.  I found that clay does not stick to the metal as well as the plasticine, especially when a reales agent has been applied.  The clay also caused some problems on the larger objects.  Because the prep time for the larger objects can take a long time I found that the clay was drying out,  shrinking and letting go of the object.  Even though the plasticine is quite a bit more expensive it saves a lot of time.

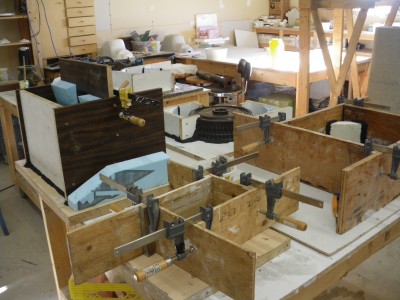
Here I am getting ready to start pouring plaster.  I have about five moulds ready to start, I find that the more that you have ready to pour the less plaster  I also  try to have a variety of sizes of objects to pour so that I can maximize my mixed plaster.

12 bolt Chevy

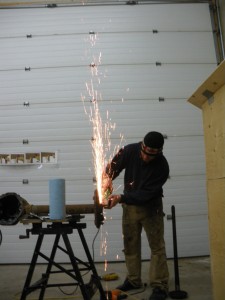
I guess this is the start. Richard told me that I needed to start doing more things on my web site.  I have been able to get back into the studio after some time off.  The first project that I am staring with is  a 12 bolt chevy axle, here I am cutting off unnecessary parts.  Lucky  for me I will never have to put it back together.  There is a reason that I am an artist and not a mechanic.